
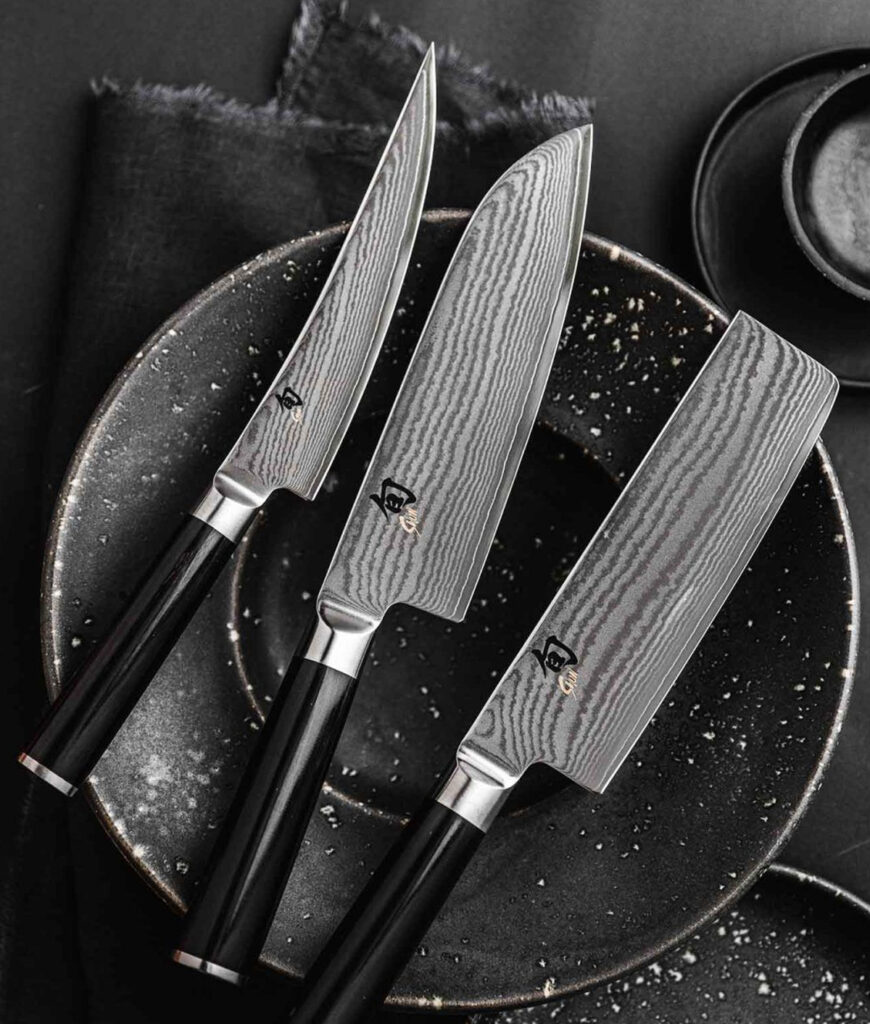


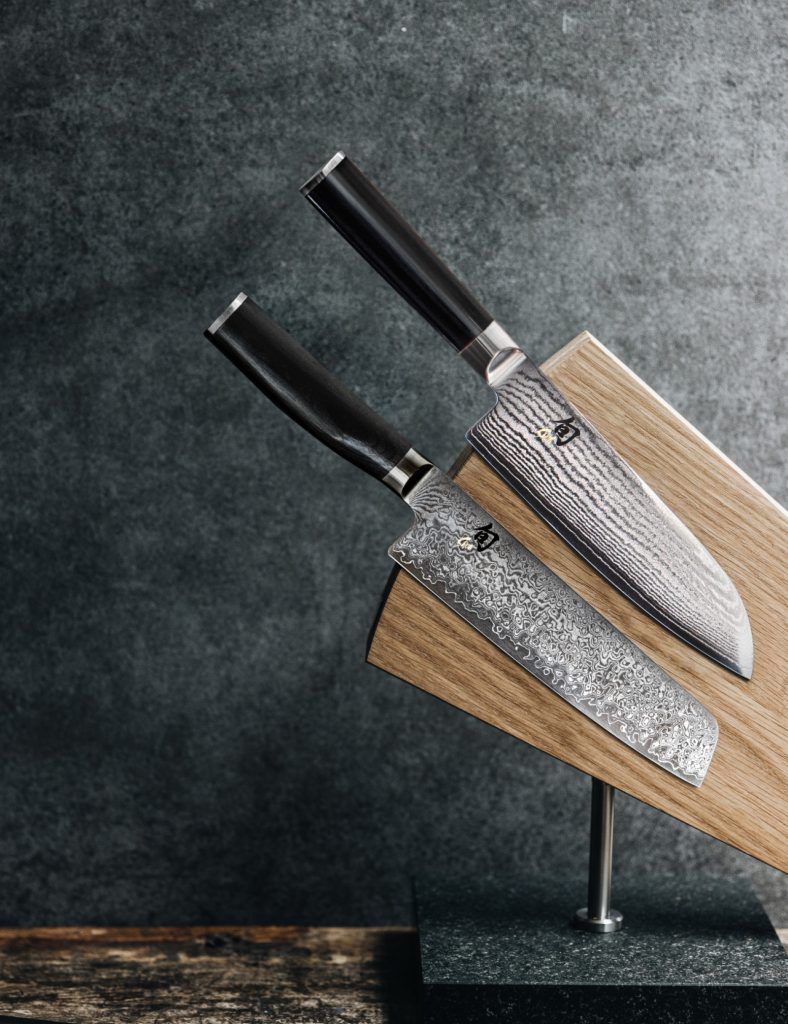
The Santoku is the traditional Japanese shape for a utility knife, comparable to the German chef's knife. The name 'three benefits' is derived from its versatility for cutting fish, meat and vegetables.

The Usuba blade shape is a traditional Japanese vegetable knife, and it is therefore used primarily for this purpose. Despite its axe-like shape it is not suitable for chopping bones.

The Yanagiba is a traditional Japanese slicing knife. Due to the slender, one-sided, hollow-ground and relatively long blade, the knife is particularly suitable for very thin cuts. The knife guarantees a skilful - and particularly clean, smooth cut. Such cuts are particularly important in the preparation of sushi. The length and shape of the blade allow for a long, pulling cutting movement.

The Deba is used in Japanese cuisine as a traditional axe. The sturdy, heavy knife has a strong, broad blade and a single cutting edge. The front part of the blade is used mainly for filleting fish. The rear part of the blade is stronger and is used, among other things, for cutting small chicken and fish bones.
refers to hardness tests according to Rockwell's C scale, employed for particularly hard materials. The Rockwell hardness value arises from the depth a testing object reaches whilst penetrating the test material (diamond, as the hardest material, serves as the value of reference with 100 HRC).
characterized by its high carbon content which ensures a high hardness and enables an excellent cutting quality. The other elements give the steel more flexibility and toughness, which contribute to a better resistance to wear and corrosion, making AUS-10 knives less likely to rust and giving them a better edge retention.
is a corrosion-resistant stainless steel with a high chromium content (14%) and an average carbon content (0.3%).
is a newly developed steel. Blades fashioned from this material are especially resistant to corrosion due to their high chromium content. This is a very pure type of stainless steel. Its greater carbon content ensures a better edge holding ability.
is a Japanese steel distinguished by its high flexibility and resilience. Thanks to its high chromium content, this blade steel is particularly resistant to both wear and corrosion.
is a classic Japanese high performance steel with excellent properties that have awarded it the moniker "gold steel". It is a stainless blade steel of the highest quality with a high carbon content. This allows it to be tempered particularly well in contrast to other stainless steels. Moreover, VG 10 boasts a particularly good edge retention.
is based on VG 10 steel with further optimisations to its properties. Enriched with a higher chromium and vanadium content than VG 10, it demonstrates improved edge retention and resistance to corrosion. A higher carbon content also makes it harder than other steel grades.
A very hard stainless steel, represents the further development of VG-Max steel. This steel allows the production of knives with even thinner cutting edges, which reduce friction while cutting and allows a better edge retention. Although VG-XEOS is made without cobalt, it still achieves the same hardness and resistance to corrosion as VG-Max. As a result, it offers an outstanding cutting performance and a high resistance to wear.
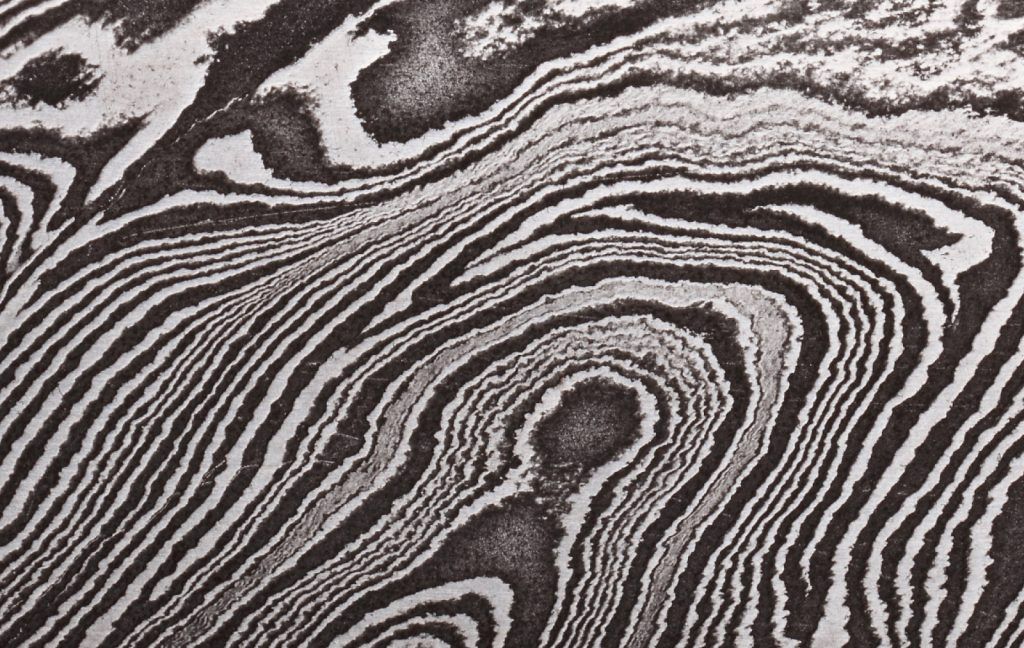
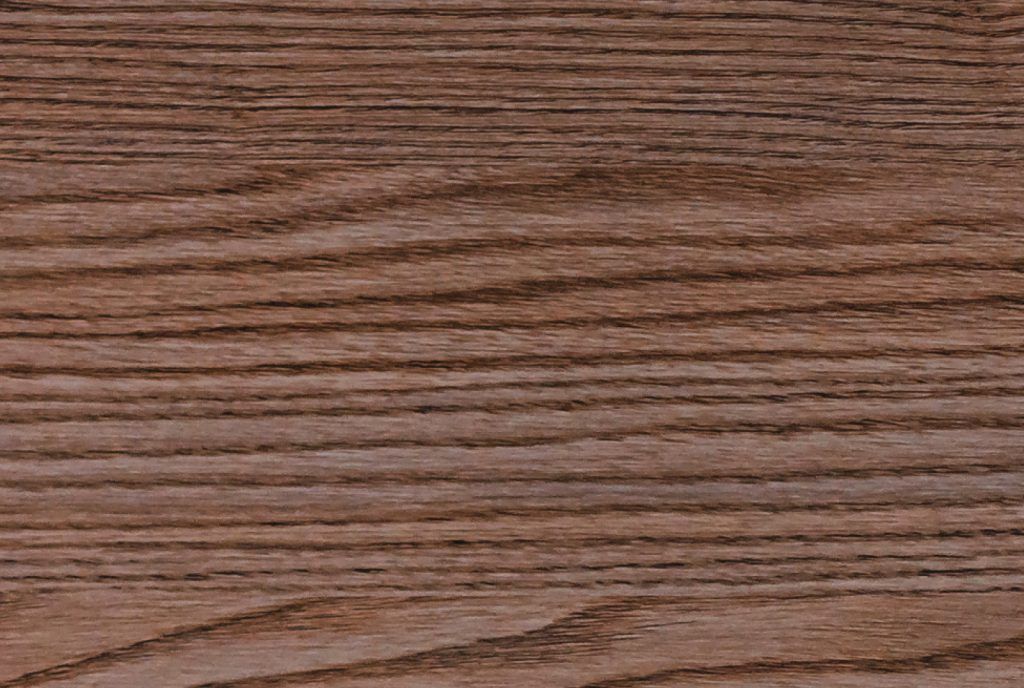
does not refer to a particular wood species, but rather the general term for impregnated layered wood veneers bonded using high quality resins to ensure the handle's stability and guarantee lasting durability in the face of moisture and organic material.
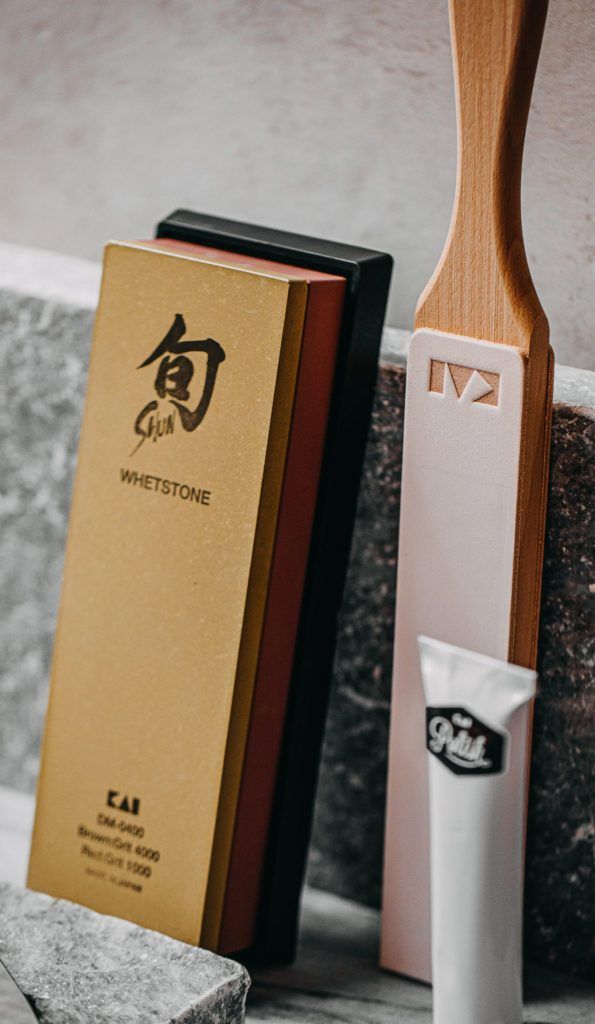
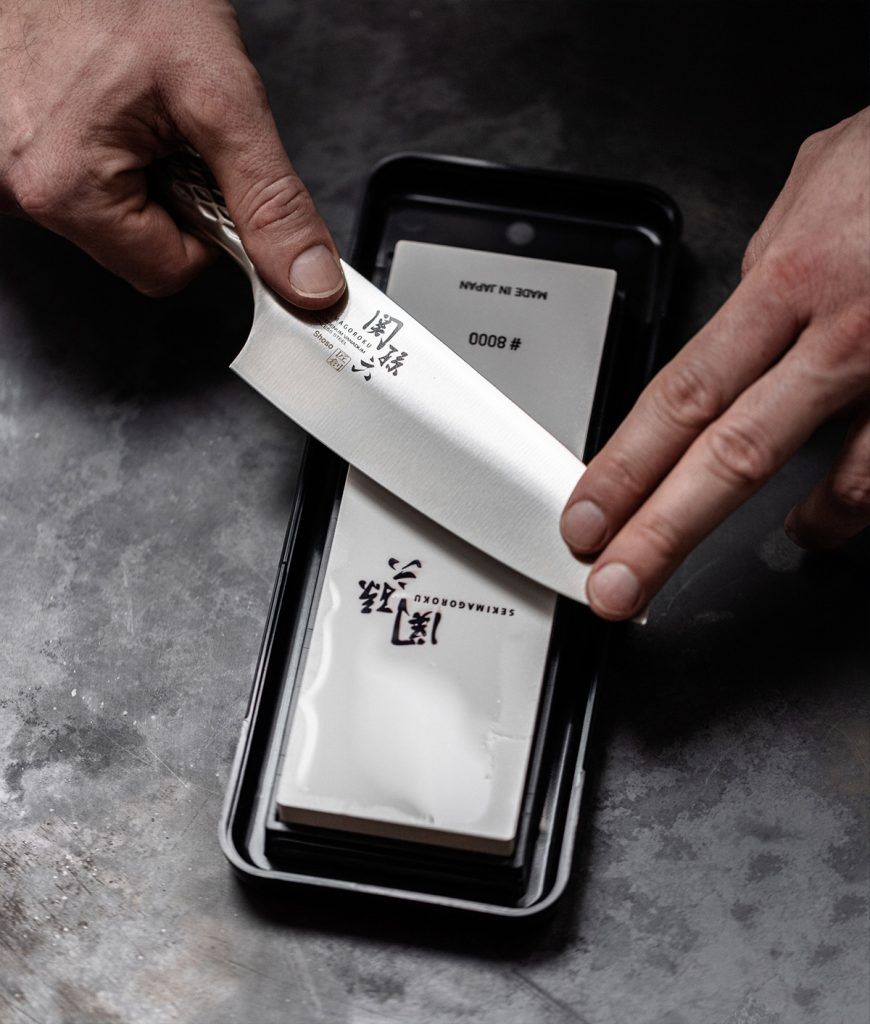
Soak the whetstone in water until no air bubbles appear, and keep the whetstone constantly wet while sharpening. Place the whetstone on a dedicated stand or on a wet cloth to prevent it from moving.
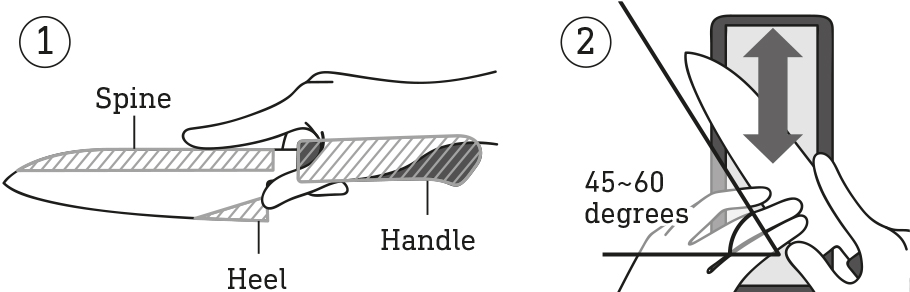
Hold the knife as shown in Figure 1, and sharpen the knife while maintaining a constant angle to the whetstone. As shown in Figure 2, position the knife so that the angle between the knife's cutting edge and the whetstone is 45-60 degrees.
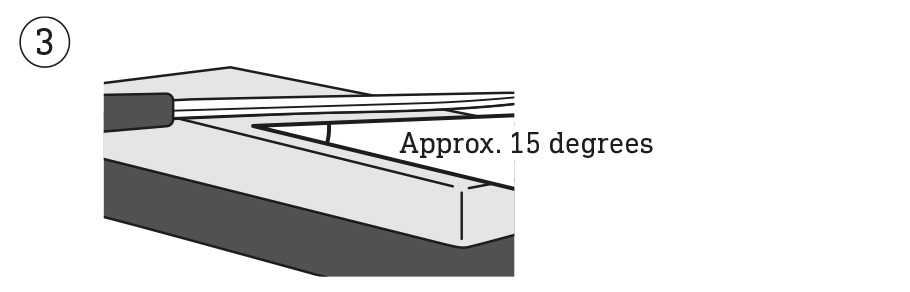
Double bevel knife: The angle between the whetstone and the knife should be about 15 degrees, as shown in Figure 3.
Single bevel knife: Place the knife on the whetstone as shown in Figure 4.
Sharpen the knife by moving it back and forth, using the full length of the whetstone, with just enough force to lightly carry the weight of your arm without exerting too much pressure. When burrs appear, sharpen the other side in the same manner until burrs appear. For single bevel knives, see Figure 5 for the knife angle. Once burrs have developed along both sides, spread newspaper on a flat surface and rub both sides of the blade to remove the burrs.
In order to continue sharpening accurately, use a flattening stone to flatten the surface of the whetstone.


b. Start grinding at the tip of the blade. Apply a little pressure so that there is no gap between the whetstone and the blade.
c. Push the knife away from you over the grindstone with light pressure and then pull it back towards you over the grindstone without pressure. Continue in this way, moving your fingertips towards the handle as you pull the knife towards you, thus moving the knife towards the handle, until you have sharpened the entire edge. Repeat this sharpening process depending on the condition of the knife. Experience shows that at least five passes are necessary for this.
d. Turn the knife over and repeat the sharpening process with the same number of repetitions.
e. Rinse the knife and the whetstone thoroughly with clean water.
a. Place the whetstone lengthwise in front of you on the work surface. Hold the knife in front of you with the edge facing you at an angle of 45° to the grindstone and place it with the sharpened side in the lower part of the grindstone.

b. Start sharpening at the tip of the blade. Apply a little pressure to the edge with your fingertips so that there is no gap between the whetstone and the blade. The grinding angle results from the original grind and should not be changed if possible.
c. Push the knife away from you over the grindstone with light pressure and then pull it back towards you over the grindstone without pressure. Continue in this way, moving your fingertips towards the handle as you pull the knife towards you, thus moving the knife towards the handle, until you have sharpened the entire edge. Repeat this sharpening process depending on the condition of the knife until a small burr* can be felt. Experience shows that at least five passes are necessary for this.

d. Turn the knife over and now place the hollow-ground side of the blade flat on the whetstone. Push the knife over the whetstone with a little pressure until the burr can no longer be felt. Alternatively, you can remove the burr* with a nylon brush or newspaper.

e. Rinse the knife and the whetstone thoroughly with clean water.
Copyright © 2025. KAI EUROPE GmbH. All rights reserved.
Get notified about new products arrivals and early release info.
Sign up to our newsletter
Copyright © 2024. KAI EUROPE GmbH. All rights reserved.